How To Install Windows 10 on VMware Fusion
Using Windows 10 in VMWare Fusion is a great way to interact with a Windows OS without having to buy a physical Windows machine. In my day-to-day work I use a Windows 10 virtual environment for things such as Malware analysis and tasks that require a Windows environment.
In this post I’m going to show you how to setup a Windows 10 virtual machine in VMware Fusion. We’ll cover where to download the Windows 10 ISO from Microsoft, how to import ISO’s, how to configure hardware such network adapter, CPU’s, RAM, how to install Windows 10 on VMWare Fusion, as well as some tips and tricks for post installation. For those unfamiliar Fusion is the MacOS software hypervisor developed by VMware. If you’re on a Windows Machine you’ll be using VMware Workstation which is the software hypervisor for Microsoft Windows.
Prerequisites
Before downloading the Windows 10 ISO image it’s a good idea to familiarize yourself with some prerequisites found on the Windows 10 ISO page. To explore the prerequisites as well as download the Windows 10 ISO image please visit the Microsoft software download page here.
Microsoft Windows Software Download Page - Windows 10 ISO
Windows Release Information
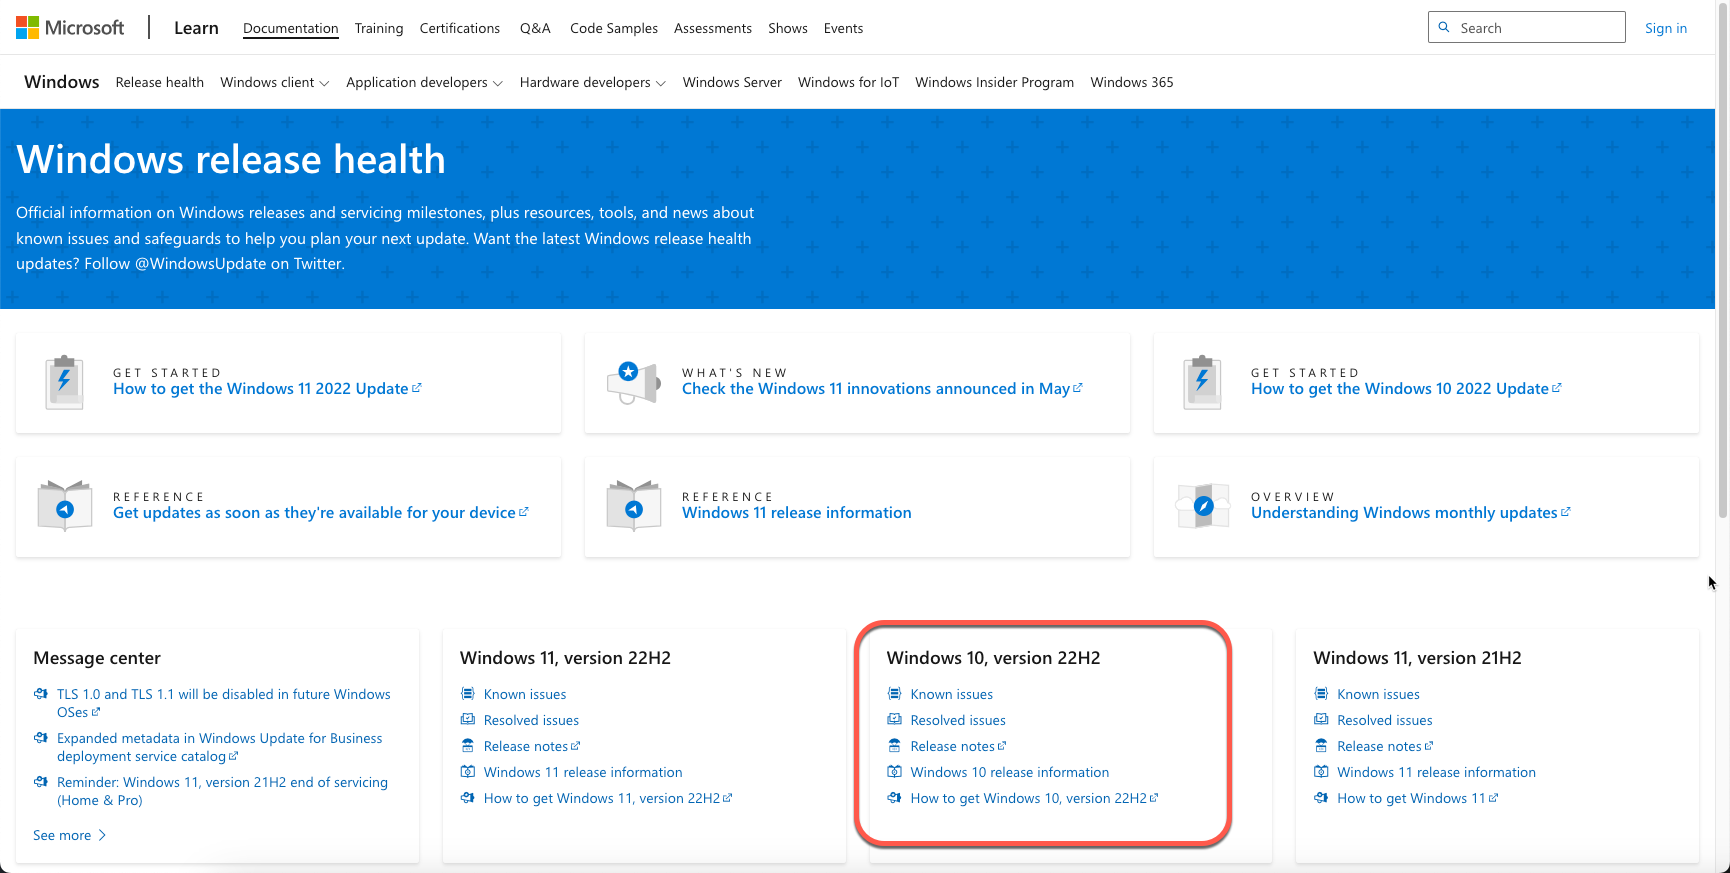
Before downloading the Windows 10 ISO it’s a good idea to familiarize yourself with this specific Windows release as well as other information related to other Windows releases. The Windows release health page includes important items such as servicing milestones, release resources, tools, and news about known issues. Additionally Microsoft has it’s own twitter handle for releases @WindowsUpdate be sure to check it out!
Microsoft Windows Release Health Page
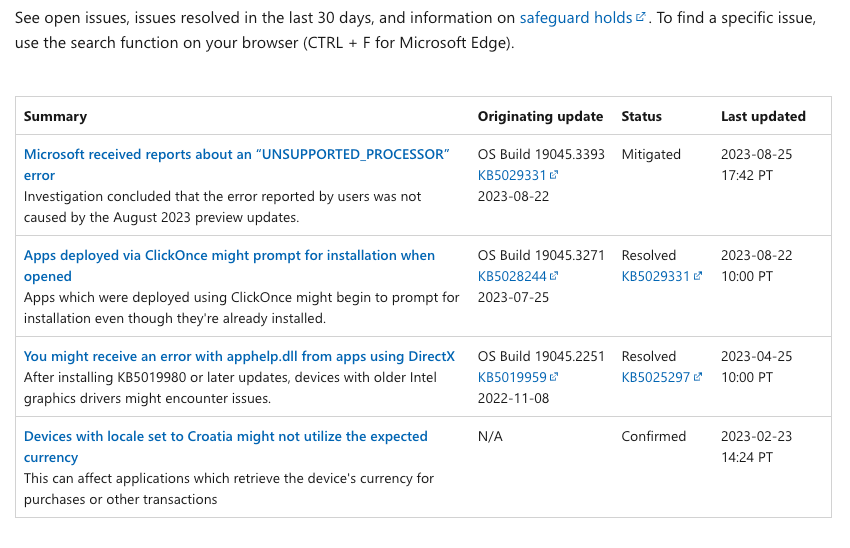
Known Issues Page
Below is an example of the known issues related to the Windows 10 ISO we are going to download.
Before You Begin
Be sure to review the requirements from Microsoft under the Before You Begin section, before downloading the Windows 10 ISO.
The big things to ensure here is that you have adequate hard disk space as well knowing whether you’ll be using an 64-bit or 32-bit processor (CPU) appropriate version.
After these prerequisites you’ll be ready to download the Windows 10 ISO image either by building it directly from the Microsoft Downloads page or through the Microsoft Media Creation Tool.
Downloading the Windows 10 ISO Image
This option will be available on MacOS and Linux. Once you’ve reviewed the release information as well as the Before You Begin you can go ahead and download the Windows 10 ISO. If you skipped the above step you can download the Windows 10 ISO image here.
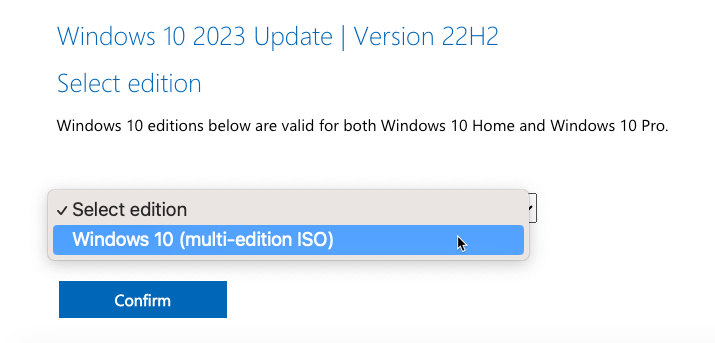
Selecting the Windows 10 ISO Edition
Currently there is only the Windows 10 multi-edition ISO.
Select Windows 10 Edition ISO
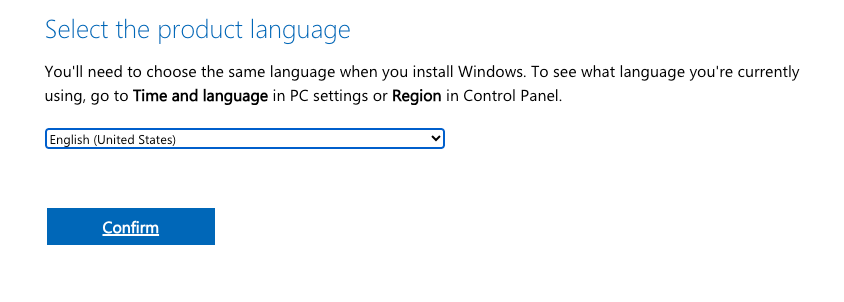
Selecting Your Edition Language
Based on your location and language you’ll want to select the language appropriate to you. Since I’m in the US I’ll be selecting English (United States).
Select Windows Product Language
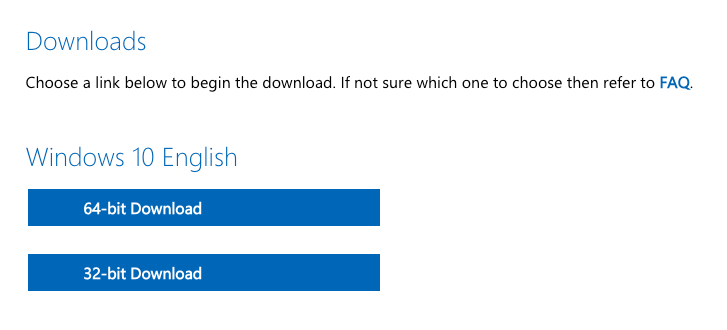
Selecting 64-bit or 32-bit Versions
Next you’ll be asked to select which version of Windows 10 you’ll want to download.
Select Windows 10 64-bit or 32-bit Download
Sit Back, Relax, & Wait :)
Now that we’ve reviewed documentation and selected the appropriate version of Windows 10 we can sit back, relax, and maybe grab some coffee or tea while we wait for the download to complete. The download size should be around 6GB.
Windows 10 ISO Download on Google Chrome
Configuring Windows 10 on VMWare Fusion
Once the Windows 10 ISO image is downloaded or built using the Windows Media Creation Tool we can proceed to import the ISO image into VMWare Fusion.
Open VMWare Fusion
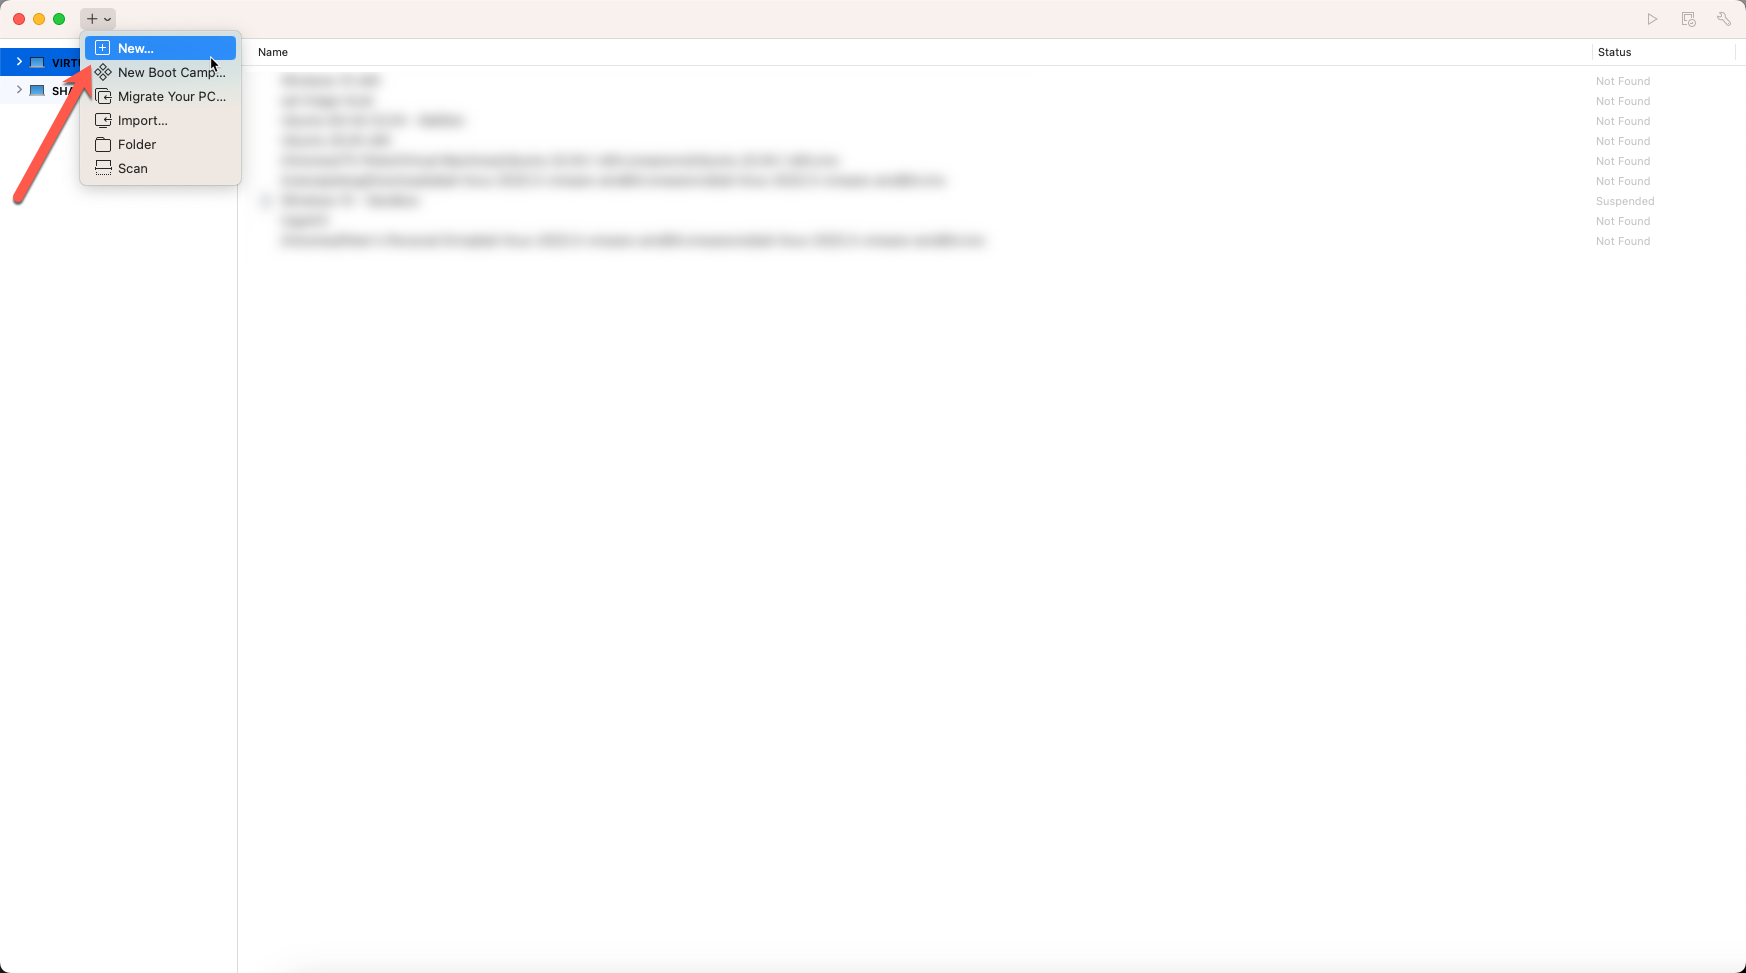
Open the Fusion application & select the + (plus) icon and select new to build a new virtual machine.
Add new virtual machine on VMWare Fusion
Import the Windows 10 ISO Image
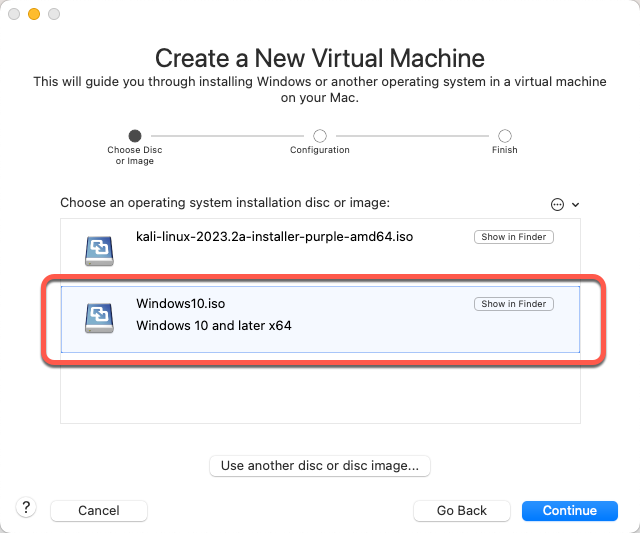
VMWare Fusion will ask you which image you’d like to import, find or drag the Windows 10 ISO into Fusion.
Choose the Windows 10 ISO Image
Add User Account & Password
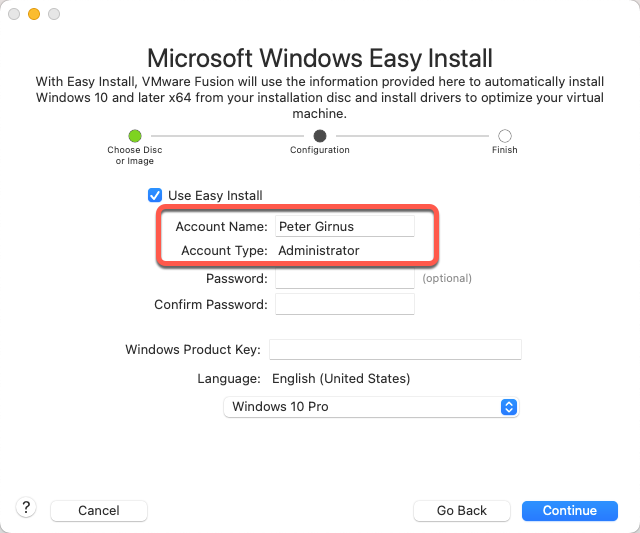
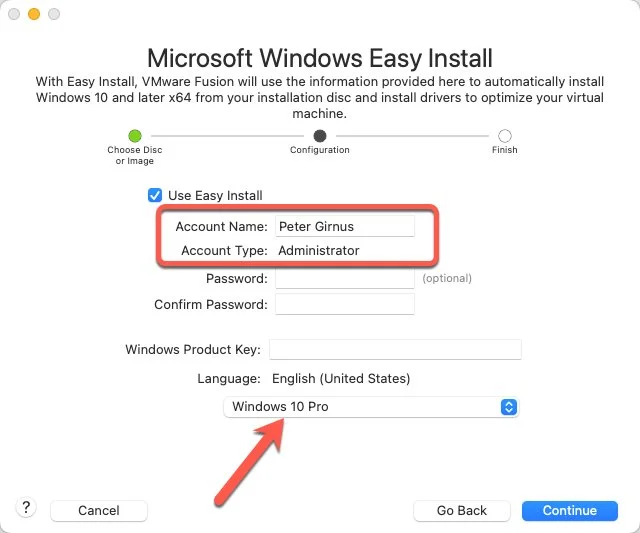
Using the Microsoft Windows Easy Install option with VMWare Fusion we can create an account name and optional password.
Create a Windows 10 Account on Windows Easy Install
Select Windows 10 Product Version
During easy install we are also able to select a Windows 10 product version. In this example I’m using Windows 10 Pro.
Select Windows 10 Product Version
If you have a Windows 10 product key you can add it now or add it later. I’m opting to add my key after we launch the Windows 10 virtual machine.
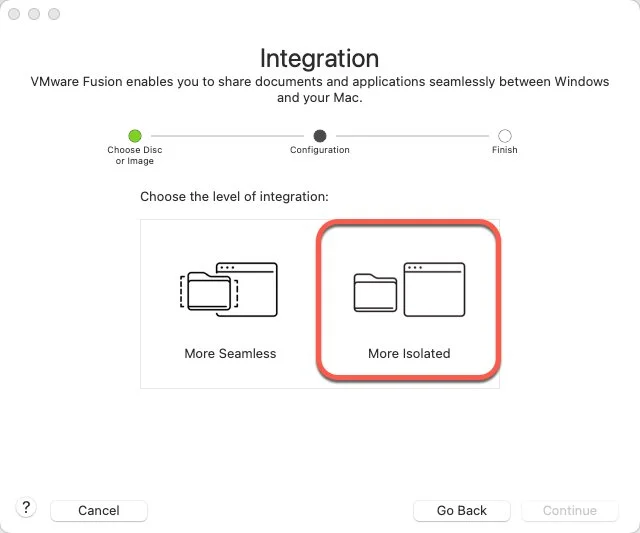
Select Integration
This option allows you to select if you want VMWare fusion to integrate the guest machine more or less with the host machine in order to more seamlessly share content between the two. Depending on your specific requirements you may want to use either seamless or isolated modes. Since this virtual machine will be a sandbox I will select more isolated.
Select VMWare Fusion Windows Integration Option
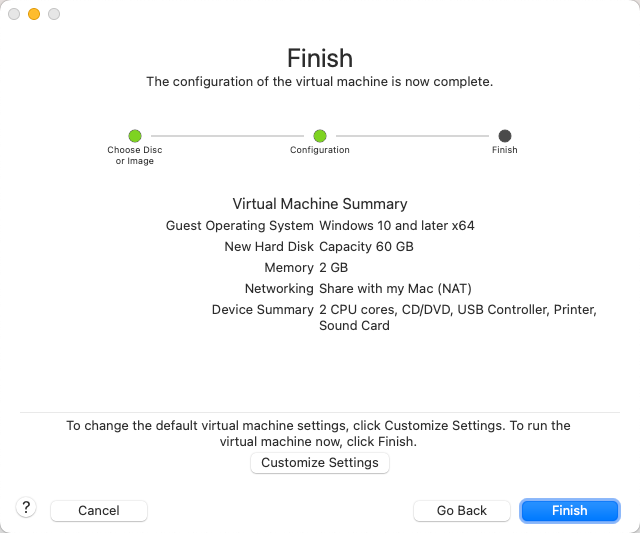
Customize Settings
If you’d like to customize settings such as hard disk, RAM, CPU, and networking components you can do so before booting the Windows 10 virtual machine.
VMWare Fusion Finalize Windows 10 Configuration Screen
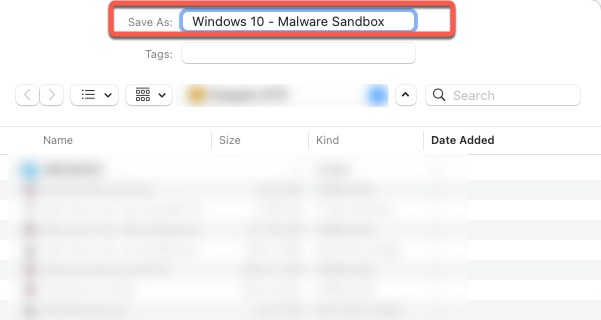
I’m going to remove the network component for the installation process before I start the Windows 10 boot-up routine. Before we change the system settings be sure to save your virtual machine with a descriptive name.
VMWare Fusion Save Windows 10 Virtual Machine
Edit Network Adaptor Settings
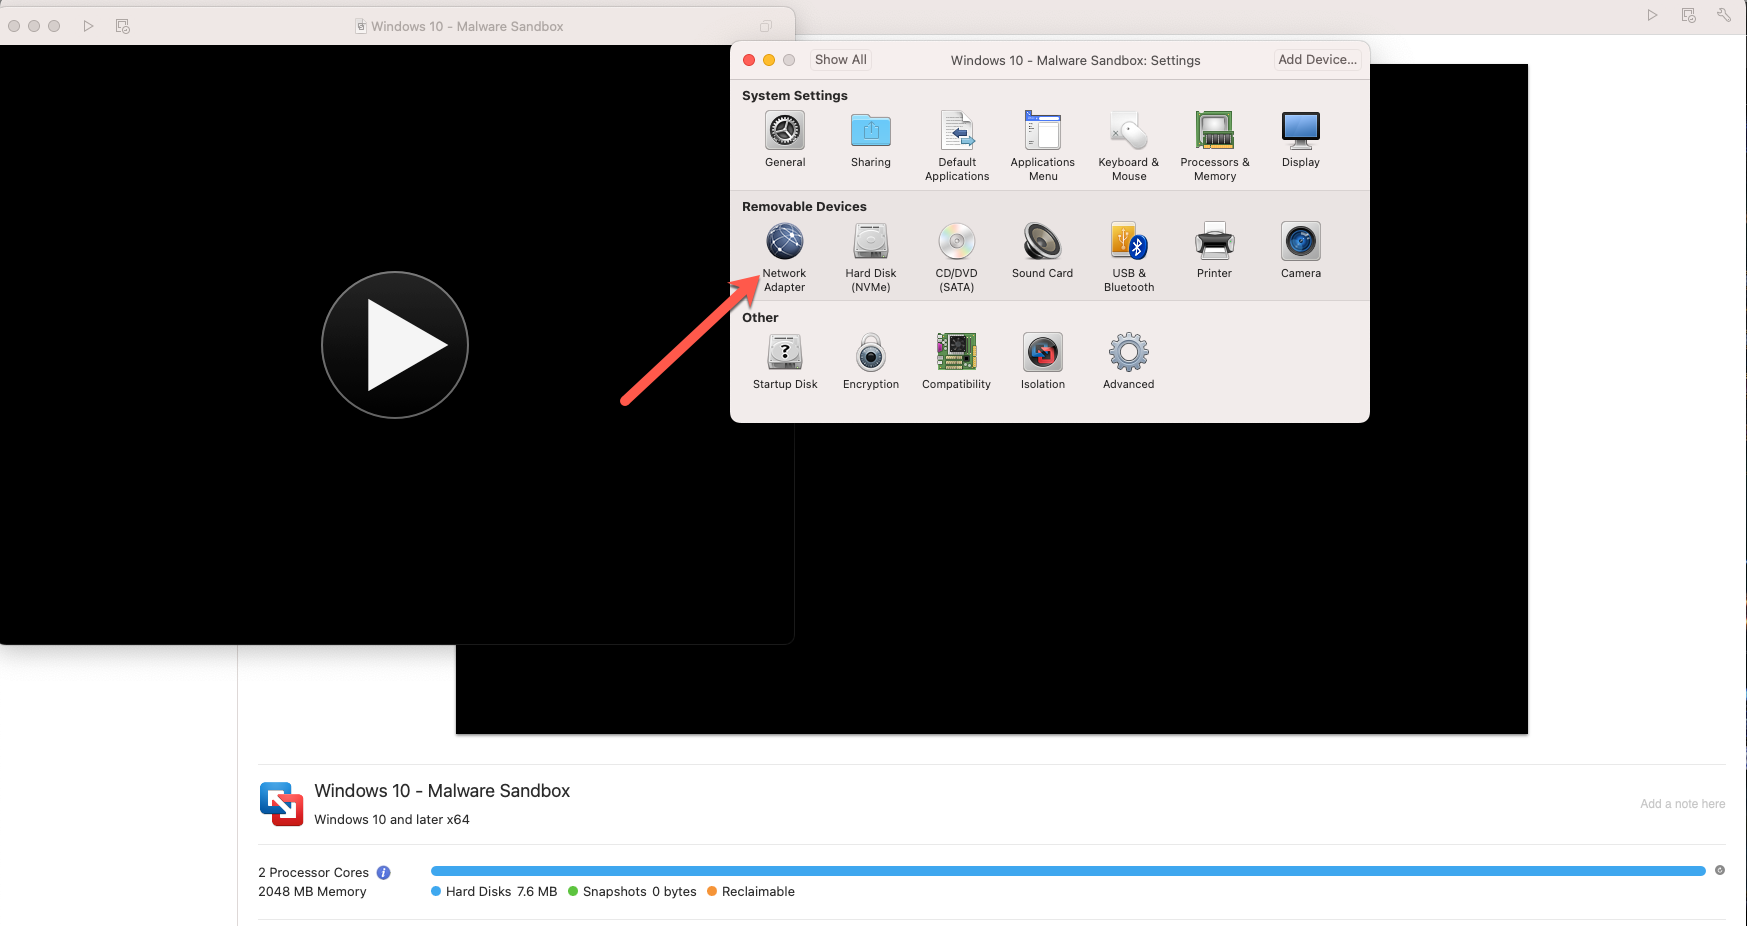
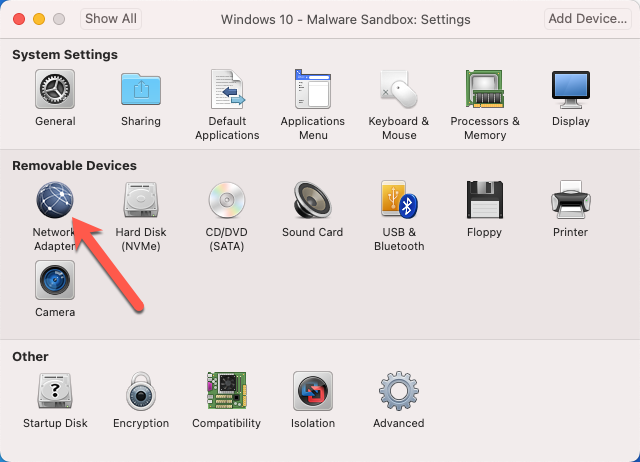
We are now presented with the settings screen which we can use to alter the various settings available to this virtual machine. We are going to select the Network Adaptor settings and remove the adaptor.
VMWare Fusion Select Network Adaptor
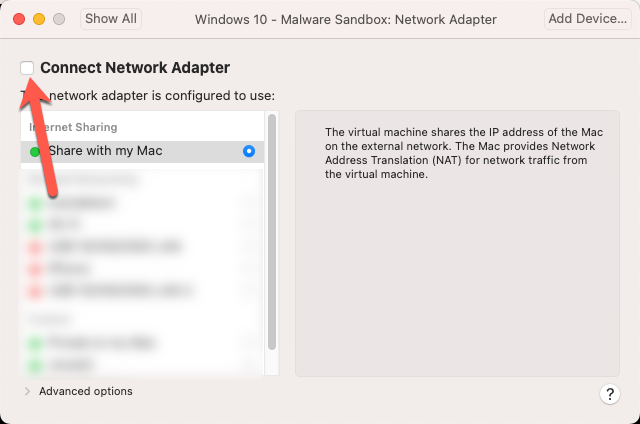
In the Network Adaptor settings simply uncheck the Network Adaptor.
VMWare Fusion Unselect Connect Network Adaptor
Processor & Memory Settings
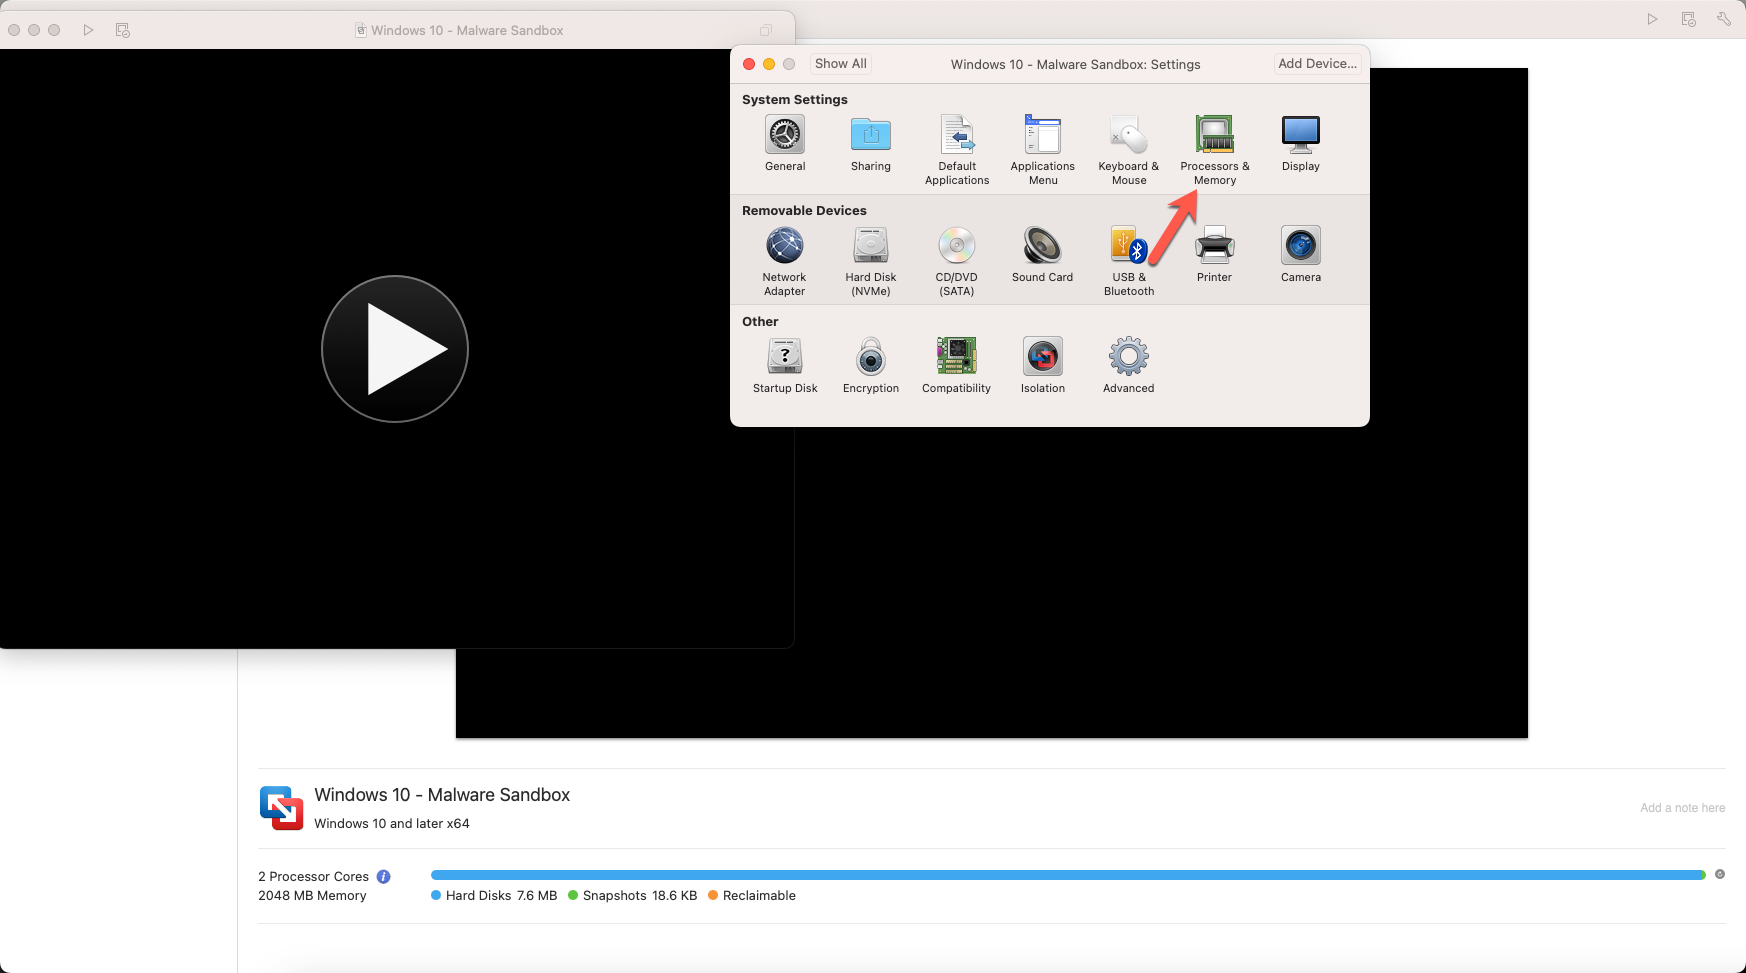
Next I’m going to increase the number of CPU cores as well as increase the virtual machine RAM under the Processors & Memory settings page.
VMWare Fusion Select Processors & Memory
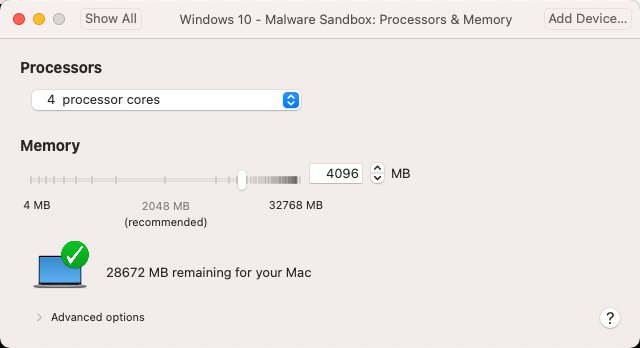
Based on the available resources on your host machine feel free to upgrade the resources on your Windows 10 machine such as I’ve done here.
VMWare Fusion Increasing Processors & Memory
Installing Windows 10 on VMWare Fusion
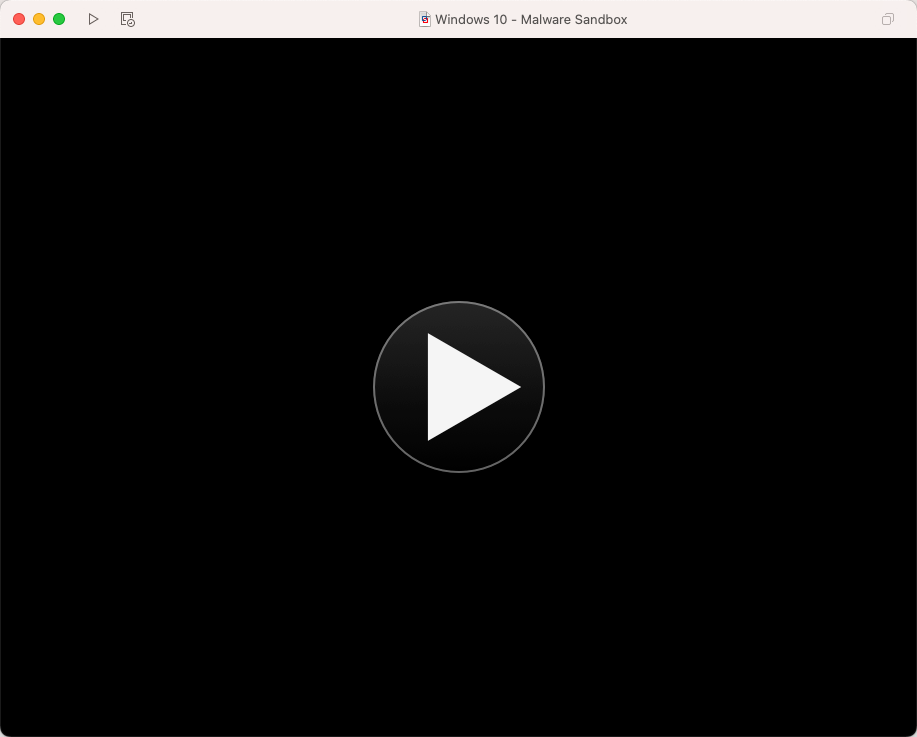
Once we’ve we’ve imported and configured our Windows 10 virtual machine settings we can start the virtual machine by pressing the play button.
VMWare Fusion Play Button
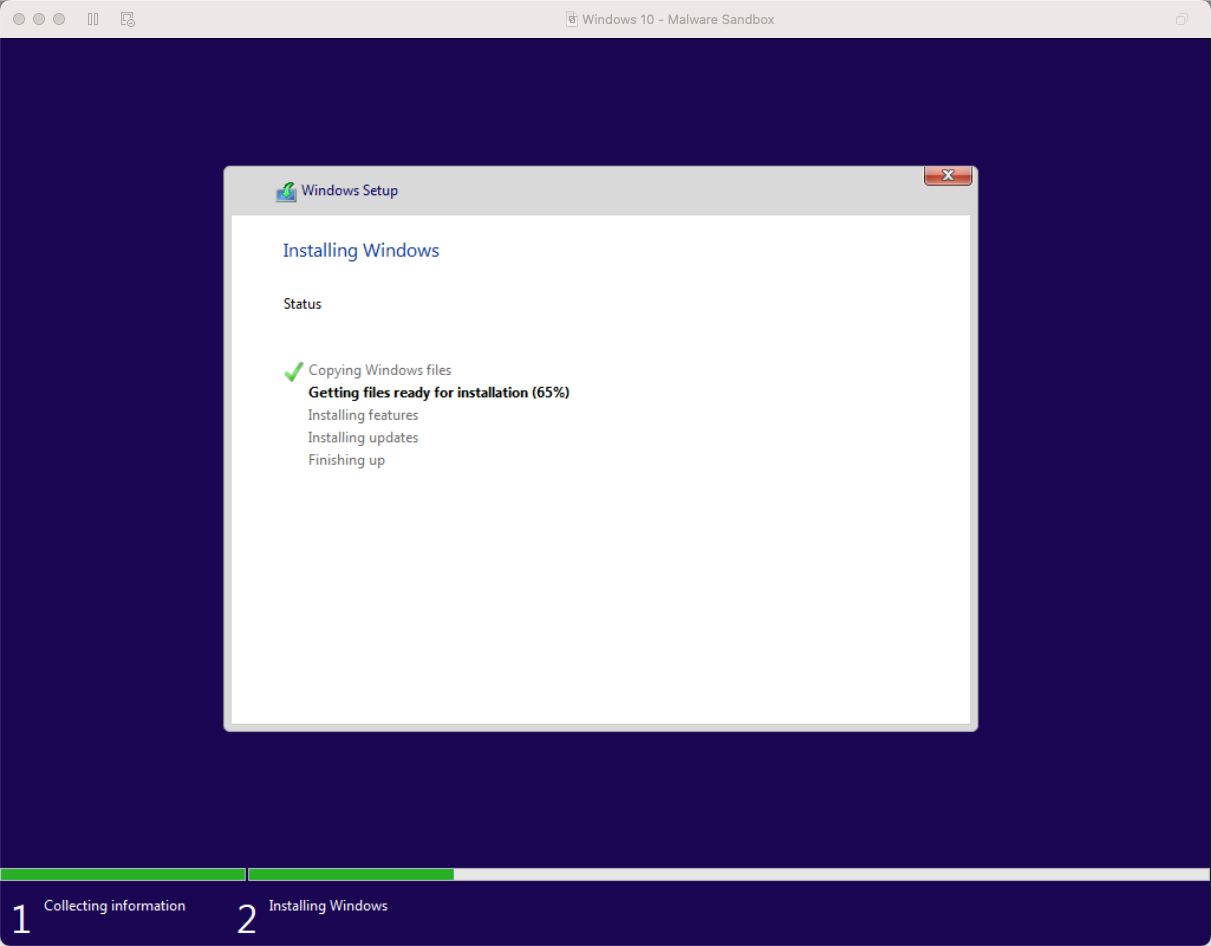
This will start the Windows Setup Installation Process which is the setup program that installs Windows. If you’d like a reference for the setup process you can use reference the Windows Setup Technical Reference. Once we press the play button this will kick off the Windows installation process.
Windows Setup Installing Window Screen
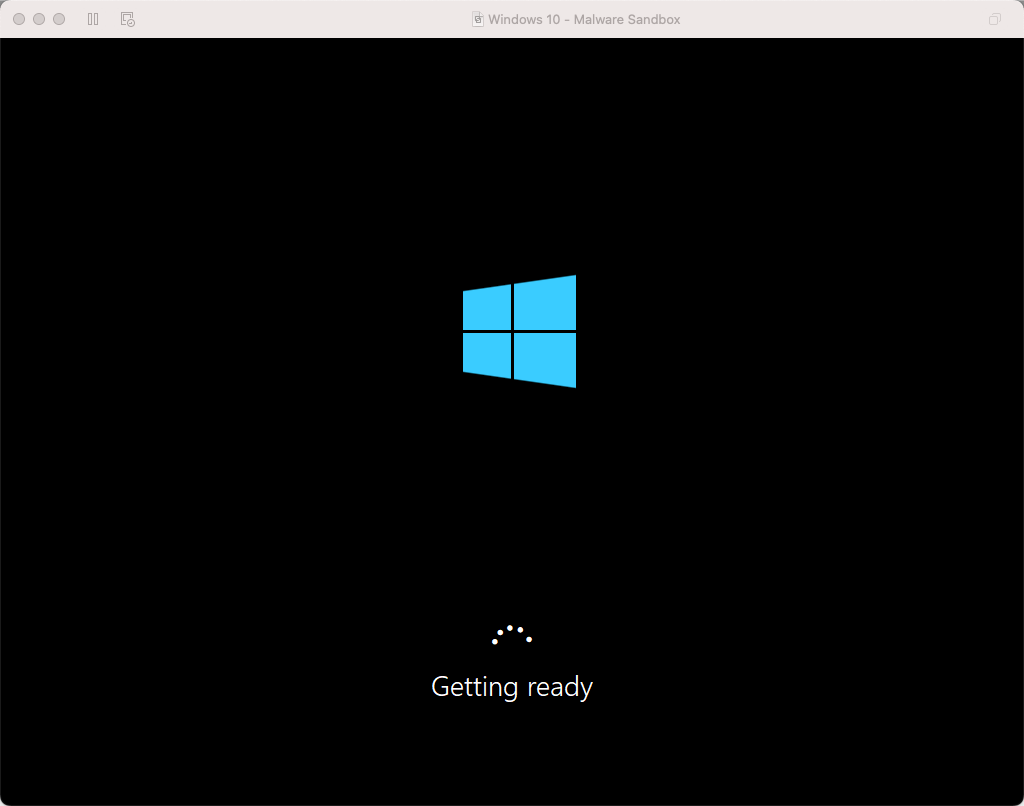
This process will take some time and Windows will automatically restart.
Windows Setup Getting Ready Screen
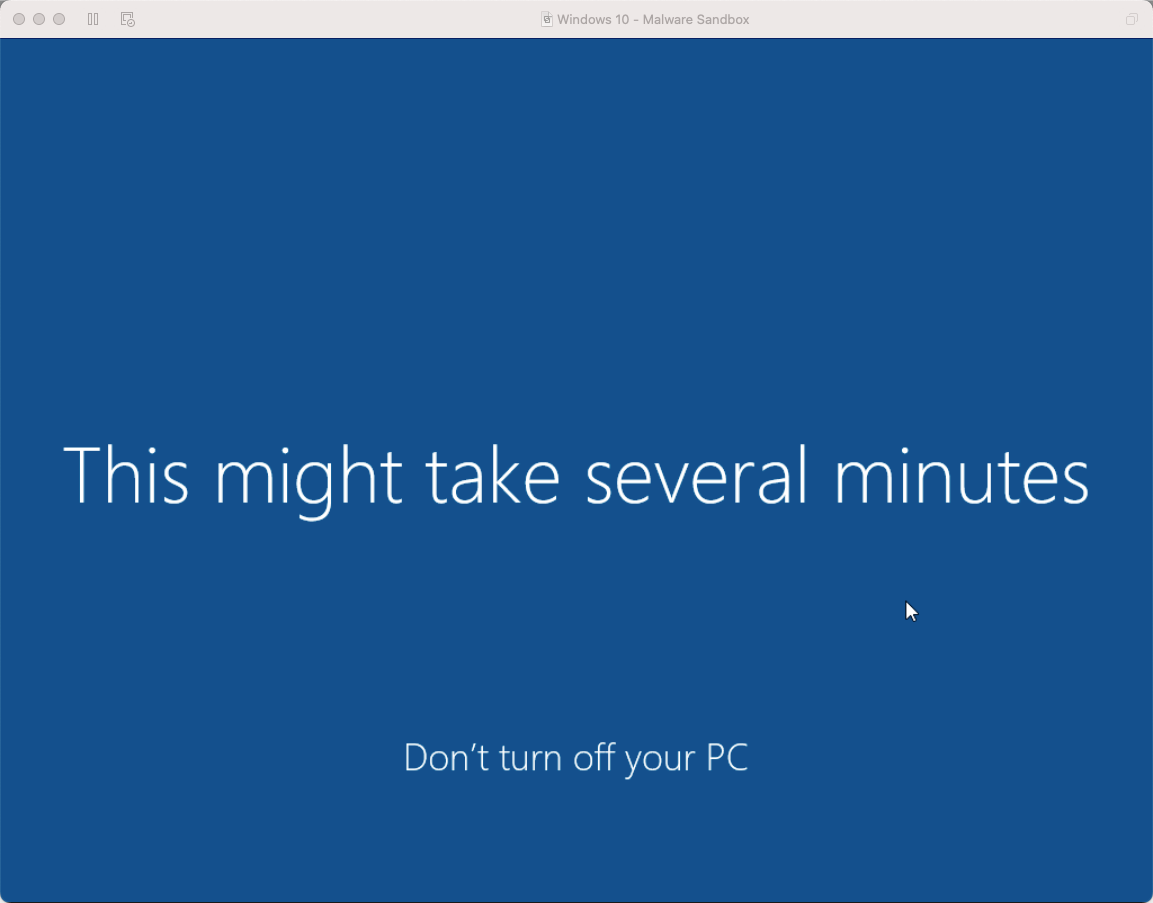
Once rebooted Windows will continue to update and configure some background tasks and may reboot again. Windows will advise us that this make take several minutes (if you’re lucky). It’s important to note that Windows will automatically restart so please don’t turn off your PC.
Windows Setup This Might Take Awhile Screen
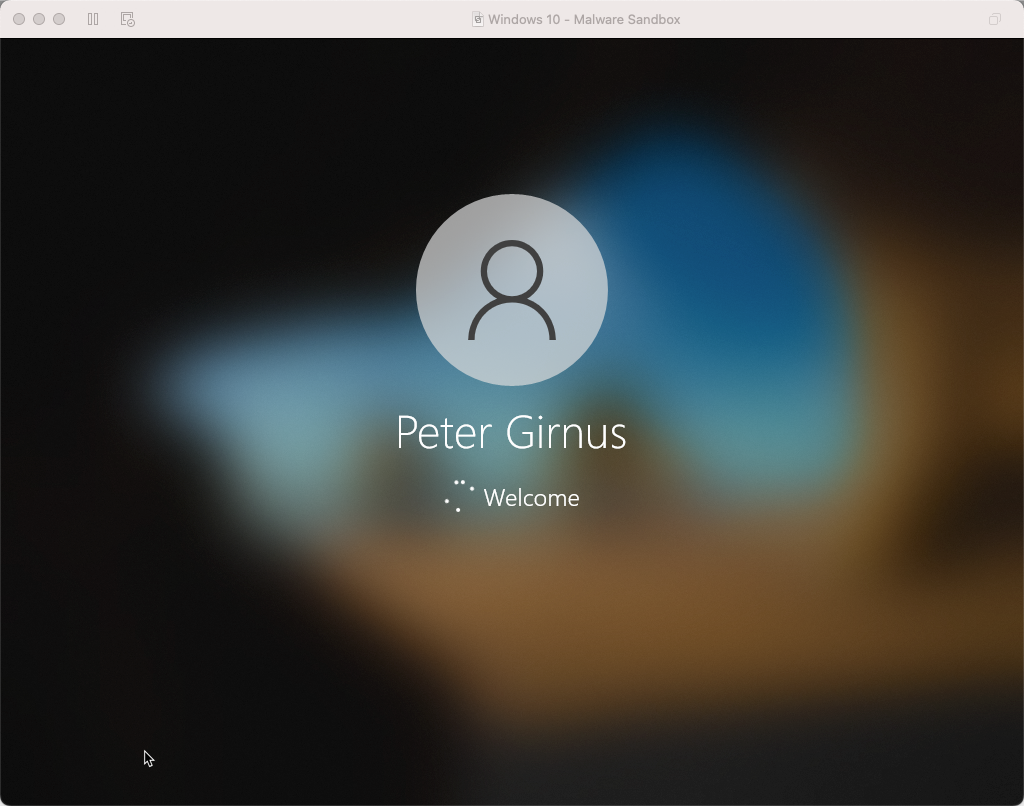
Once the installation is complete you will be asked to enter your password for login.
Windows Login Screen
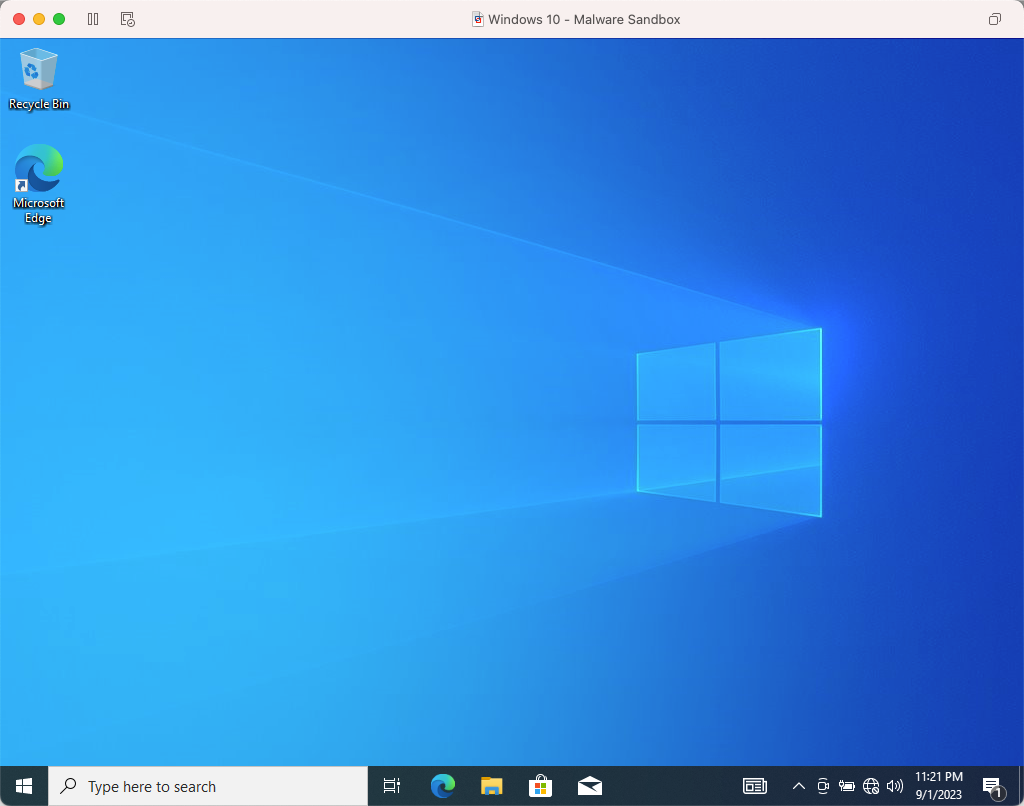
After a successful login you should be presented with a fresh Windows 10 Desktop. Great Job! :)
Microsoft Windows 10 Desktop Screen
Next Steps
In this section we’ll describe some important next steps to take once Windows 10 has been successfully installed on VMWare Fusion.
Adding a Network Connection
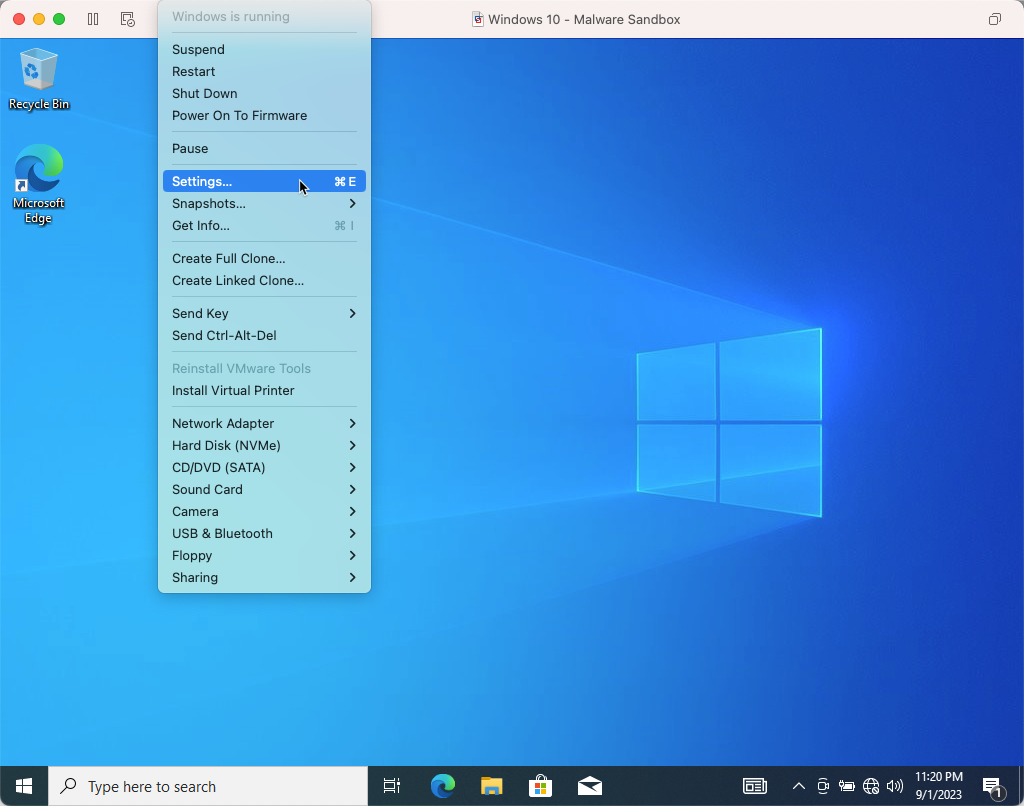
Since we disabled the network adaptor you may want to go back into the virtual machine settings to add a network connection.
VMWare Fusion options, select Settings
VMWare Fusion Network Adaptor option
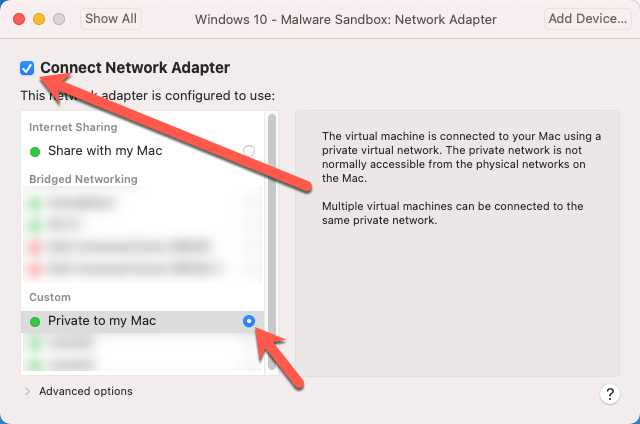
In this case I’m going to add a network connection as Private to my Mac which uses a private virtual network to my Mac. You can read more about network configuration in VMWare fusion here.
VMWare Fusion select Connect Network Adapter
Installing Software
Now would be a good time to install the software specific to your workflow, if used for analysis you might consider installing tools such as Ghidra, ProcMon, PeStudio, Wireshark, x64dbg, Fiddler, and a VPN such as NordVPN, and anything else specific to your workflow. If you’re going to be working with software or are developing it’s also a good idea to install an IDE such as Visual Studio Code or one or more of the developer tools from JetBrains (my favorite).
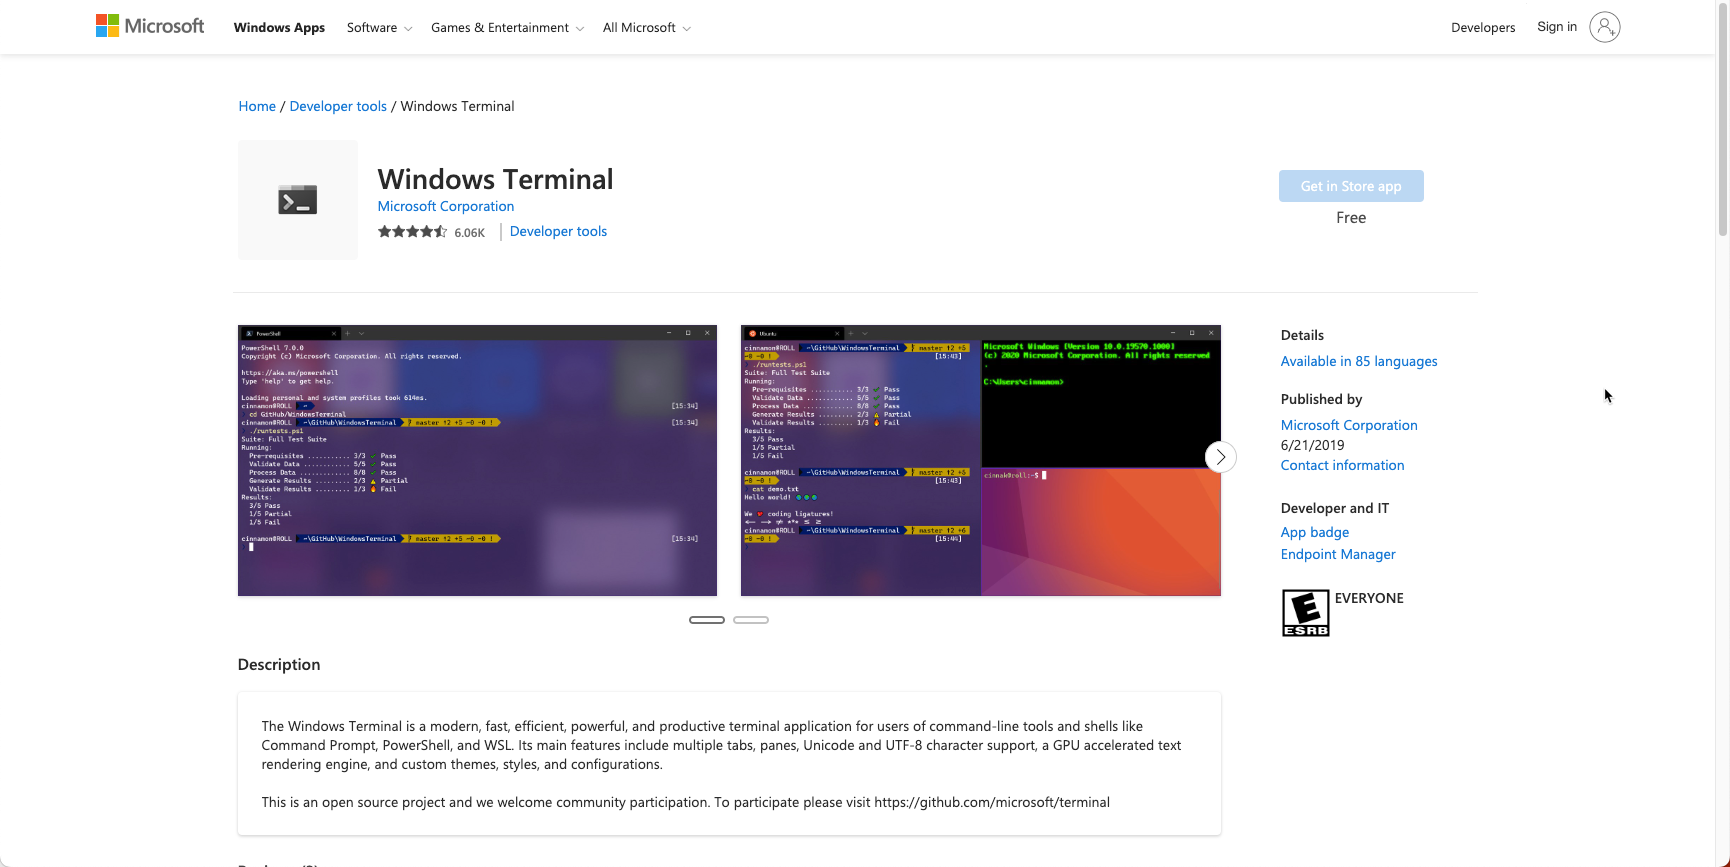
One of my favorite Windows tools is the Windows Terminal which is available on the Windows Store.
Microsoft Windows Applications Windows Terminal Page
If you’d like to learn how to install Windows Applications using the Windows Package Manager (winget) tool feel free to read my previous blog post on this awesome tool.
Taking a Snapshot
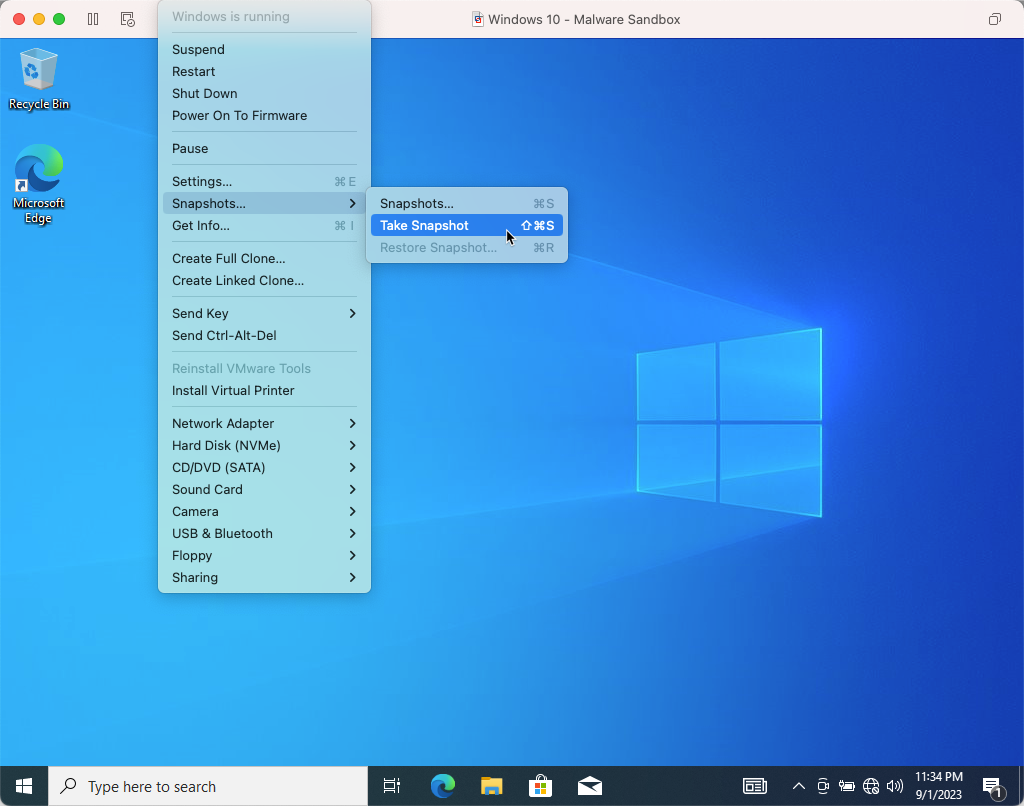
To finalize installing Windows 10 on VMWare Fusion it’s a great idea to take a snapshot of the virtual machine post installation. This is done after you’ve installed the necessary software specific to your needs.
VMWare Fusion Take Snapshot
Taking a snapshot after installing software specific to your needs allows you to revert back to a clean virtual machine state.
Conclusion
In this how-to article we walked through how to download, configure, and run a Windows 10 ISO on VMWare Fusion. We also went over some common settings related to virtual machines on VMWare fusion as well as provided some next steps post install.
If you have any questions or issues feel free to reach out to me on social media I’m always here to help. What do you use Windows 10 virtual machines for?


